Sourdough Discard Brownies Fudgy
Uitgelicht onder: Dagelijkse Bakfavorieten
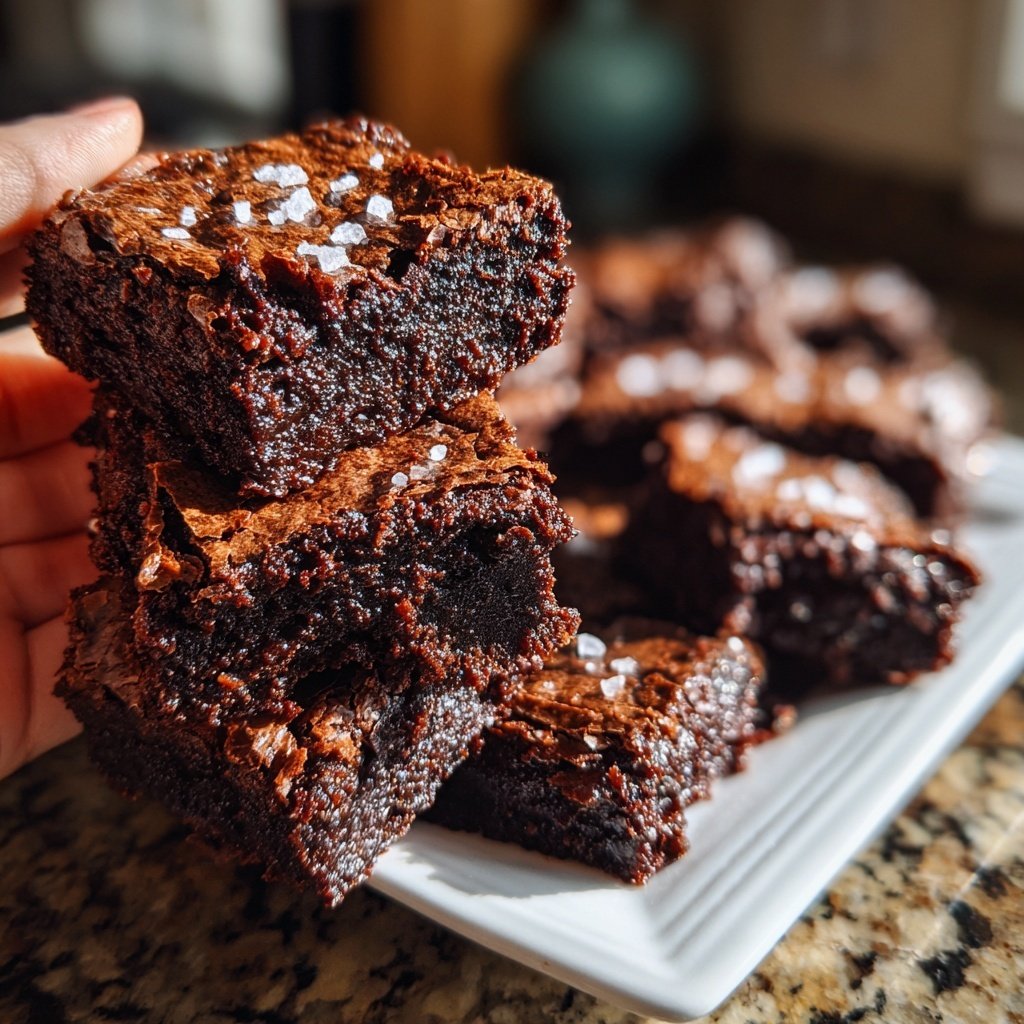
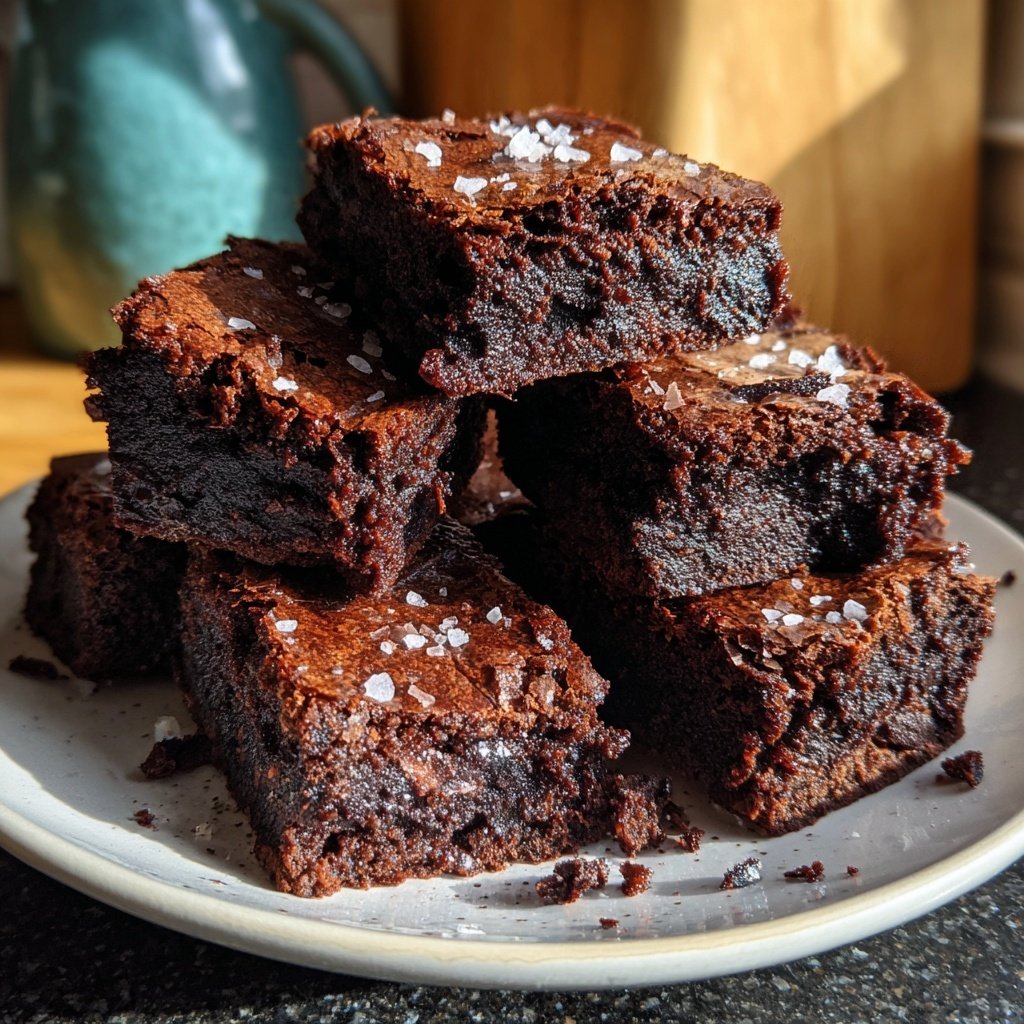
I absolutely adore making desserts that not only satisfy my sweet tooth but also use up ingredients I usually have on hand. These Sourdough Discard Brownies are a perfect blend of fudgy goodness and the unique tang of sourdough. Each bite is rich and chocolaty, making them the ideal treat for any occasion. The best part is that by utilizing sourdough discard, I'm not only reducing waste but also enhancing the flavor profile of these brownies. It’s a win-win in my kitchen!
When I first experimented with sourdough discard in my brownie recipe, I was pleasantly surprised by the depth of flavor it added. The tanginess from the sourdough complements the rich chocolate perfectly, creating a unique twist on a classic treat. Using quality chocolate and butter is essential for achieving that delectable fudgy texture that keeps everyone coming back for more!
I’ve made these brownies several times now, and I always get rave reviews. One tip I’ve learned is to not overmix the batter; this helps maintain the dense, fudgy consistency. They’re perfect served warm with a scoop of vanilla ice cream on top!
Why You Will Love These Brownies
- Rich chocolate flavor paired with the unique tang of sourdough
- Fudgy texture that melts in your mouth
- Easy to make and perfect for using up sourdough discard
- Great for sharing at parties or indulging solo
The Role of Sourdough Discard
Using sourdough discard in these brownies not only reduces waste but also adds a depth of flavor that is hard to replicate. The natural fermentation process gives the brownies a subtle tang that complements the sweetness of the sugar and the richness of cocoa. This unexpected flavor twist elevates the traditional brownie experience, making it a memorable treat. For those less familiar with sourdough discard, it's simply the excess starter you would typically discard when feeding your sourdough starter.
In addition to flavor, the acidity from the sourdough helps to create a wonderfully fudgy texture. When mixed with alkaline ingredients, like baking soda, it creates a perfect balance that contributes to the brownies' moistness. If you ever find yourself with extra sourdough discard and no plans to bake, whipped into brownie batter is one of the best uses I can recommend!
Fudgy Texture Explained
Achieving that perfect fudgy texture in brownies requires a careful balance of ingredients. The melted butter creates a rich base, while the ratio of sugar to flour is crucial. Too much flour can lead to a cake-like brownie, while too little results in a gooey mess. By sticking closely to the recommended measurements, you'll ensure that your brownies have a melted-in-your-mouth experience that is both rich and satisfying. I suggest using a baking scale for precise measurements if you want to take your brownies to the next level.
Another key factor is not to overmix the batter after adding the flour. Overdeveloping the gluten can lead to a denser texture than desired. Just stir until you see no more flour, then stop! The addition of chocolate chips also enhances the fudginess, especially if you use a mix of dark and semi-sweet varieties. You can easily substitute with white chocolate if that suits your taste, though it will alter the flavor profile slightly.
Storing and Serving Suggestions
To maintain the freshness of your brownies, store them in an airtight container at room temperature for up to 4-5 days. If you want to keep them longer, consider freezing them. Just wrap individual brownies in plastic wrap and then place them in a freezer-safe bag. They can last for up to three months. When you're ready to enjoy, simply thaw them in the refrigerator or at room temperature—no need to remove them from their individual wrapping before thawing, which helps retain moisture.
These brownies are delicious on their own, but you can elevate their presentation by serving with a scoop of vanilla ice cream or a dollop of whipped cream. Drizzling with caramel or serving with fresh berries can also add a delightful contrast to the rich chocolate flavor. For special occasions, consider sprinkling a pinch of sea salt on top before serving to enhance the brownies' sweetness and provide a beautiful finish.
Ingrediënten
Gather these simple ingredients to make your delicious brownies:
For the Brownies
- 1 cup sourdough discard
- 1 cup granulated sugar
- 1/2 cup unsalted butter, melted
- 1/2 cup cocoa powder
- 1 teaspoon vanilla extract
- 2 large eggs
- 1/2 cup all-purpose flour
- 1/4 teaspoon salt
- 1 cup chocolate chips (optional)
Making these brownies is straightforward and highly rewarding!
Bereidingswijze
Follow these steps to create your fudgy brownies:
Preheat the Oven
Preheat your oven to 350°F (175°C) and grease a 9x9-inch baking pan or line it with parchment paper.
Mix the Wet Ingredients
In a large bowl, combine the melted butter, sourdough discard, sugar, cocoa powder, and vanilla extract. Stir until well incorporated.
Add the Eggs
Add the eggs one at a time, mixing well after each addition. Make sure the mixture is smooth and uniform.
Combine Dry Ingredients
In a separate bowl, whisk together the flour and salt. Gradually add this to the wet mixture, stirring gently until just combined.
Fold in Chocolate Chips
If using, fold in chocolate chips to the batter for extra decadence.
Bake the Brownies
Pour the brownie batter into the prepared baking pan and spread evenly. Bake for 25 minutes or until a toothpick inserted comes out with a few moist crumbs.
Cool and Serve
Allow the brownies to cool in the pan for at least 10 minutes before cutting them into squares and serving.
Enjoy your brownies with a scoop of ice cream or a dollop of whipped cream!
Professionele Tips
- For an extra touch, dust the brownies with powdered sugar before serving. These brownies are also fantastic with a sprinkle of sea salt on top right after baking.
Troubleshooting Your Brownies
If your brownies come out too dry, it’s likely that they were overbaked. Keep an eye on them to avoid dry edges; they should still look slightly undercooked in the center when you take them out. The toothpick test is a helpful guide: aim for a few moist crumbs to ensure ultimate fudginess without being too gooey.
On the other hand, if your brownies don't set properly, they might require a few more minutes in the oven. Always check for doneness after the minimum baking time, then add time gradually—a couple of minutes at a time—until you achieve the desired texture. Using an oven thermometer can help ensure your oven's temperature is accurate, as many home ovens can be off by quite a bit.
Customizing Your Brownies
Feel free to customize these brownies according to your preferences. For instance, you can experiment with different types of cocoa powder, such as Dutch-processed versus natural, which will yield different flavor profiles. Incorporating nuts like walnuts or pecans can add a delightful crunch to the soft texture, while a swirl of peanut butter or Nutella can create a rich, creamy center that's sure to impress.
If you're looking to make these brownies gluten-free, substitute the all-purpose flour with a gluten-free flour blend. Look for a one-to-one baking blend for the most seamless swap. I’ve also had success using almond flour for a slightly nutty flavor, but be mindful that it might change the overall texture slightly, leading to a denser brownie.
Vragen Over Recepten
→ Can I use a different type of flour?
Yes, you can use whole wheat flour or gluten-free flour as a substitute, but it may alter the texture slightly.
→ How can I store these brownies?
Store them in an airtight container at room temperature for up to 3 days or refrigerate for a week.
→ Can I freeze the brownies?
Absolutely! Wrap the cooled brownies tightly in plastic wrap and freeze for up to 3 months. Thaw before serving.
→ Can I add nuts to the recipe?
Certainly! Chopped nuts like walnuts or pecans can be folded into the batter for added crunch.
Sourdough Discard Brownies Fudgy
Gemaakt door: Chloe Baker
Recepttype: Dagelijkse Bakfavorieten
Vaardigheidsniveau: Intermediate
Eindportie: 12 brownies
Wat je Nodig Hebt
For the Brownies
- 1 cup sourdough discard
- 1 cup granulated sugar
- 1/2 cup unsalted butter, melted
- 1/2 cup cocoa powder
- 1 teaspoon vanilla extract
- 2 large eggs
- 1/2 cup all-purpose flour
- 1/4 teaspoon salt
- 1 cup chocolate chips (optional)
Stappen
Preheat your oven to 350°F (175°C) and grease a 9x9-inch baking pan or line it with parchment paper.
In a large bowl, combine the melted butter, sourdough discard, sugar, cocoa powder, and vanilla extract. Stir until well incorporated.
Add the eggs one at a time, mixing well after each addition. Make sure the mixture is smooth and uniform.
In a separate bowl, whisk together the flour and salt. Gradually add this to the wet mixture, stirring gently until just combined.
If using, fold in chocolate chips to the batter for extra decadence.
Pour the brownie batter into the prepared baking pan and spread evenly. Bake for 25 minutes or until a toothpick inserted comes out with a few moist crumbs.
Allow the brownies to cool in the pan for at least 10 minutes before cutting them into squares and serving.
Extra Tips
- For an extra touch, dust the brownies with powdered sugar before serving. These brownies are also fantastic with a sprinkle of sea salt on top right after baking.
Voedingswaarde (Per Portie)
- Calories: 230 kcal
- Total Fat: 12g
- Saturated Fat: 7g
- Cholesterol: 80mg
- Sodium: 70mg
- Total Carbohydrates: 27g
- Dietary Fiber: 1g
- Sugars: 20g
- Protein: 3g