Homemade Reese’s Cups with Vanilla Filling
Uitgelicht onder: Dagelijkse Bakfavorieten
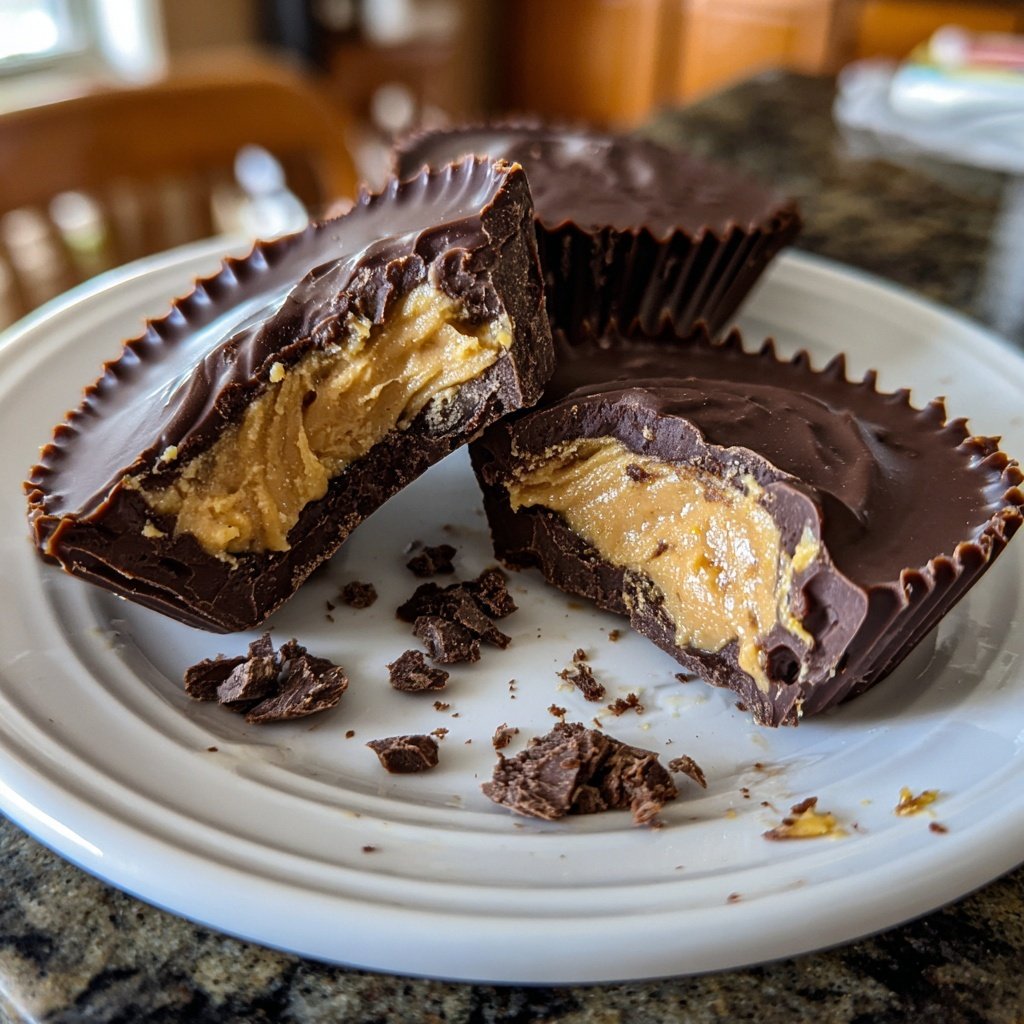
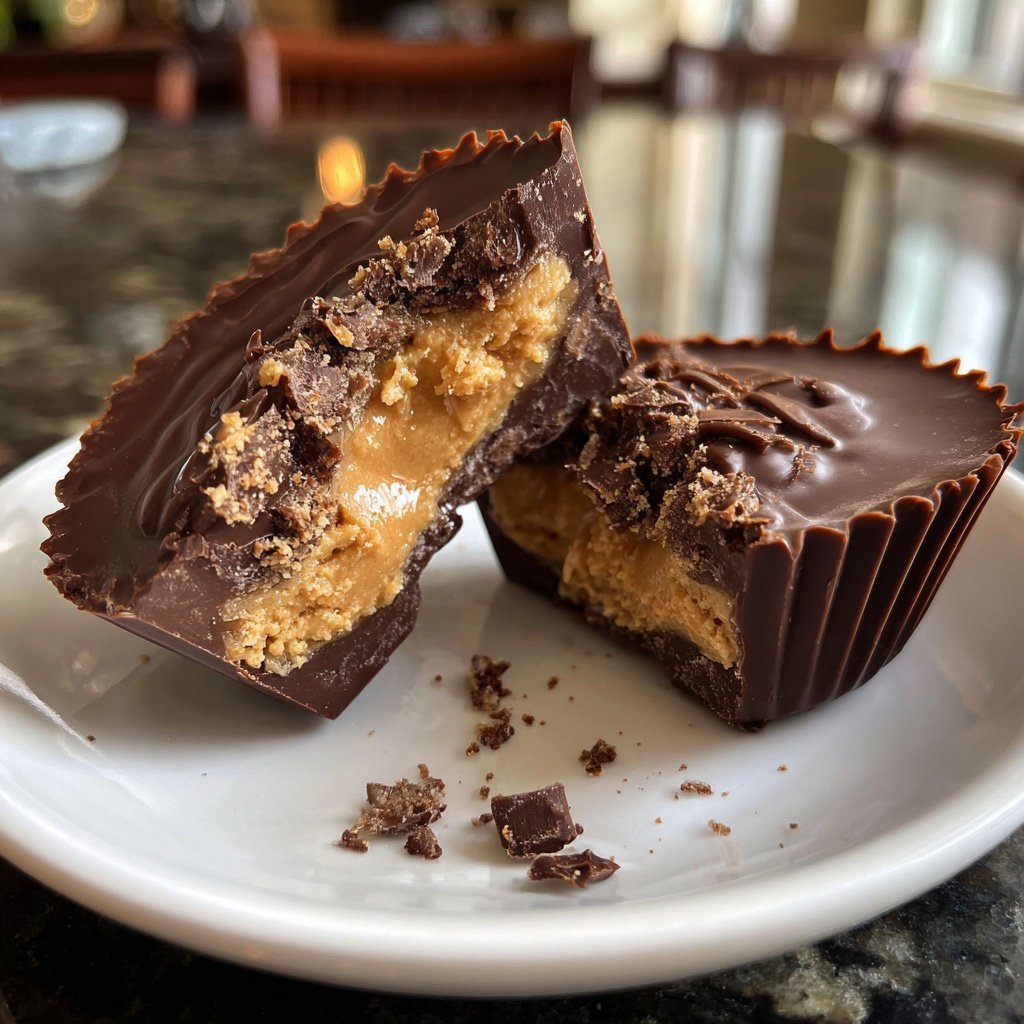
I absolutely love making these Homemade Reese's Cups with Vanilla Filling. They are not only a delicious treat, but also a fun way to get creative in the kitchen. Each bite delivers a perfect balance of smooth chocolate and a creamy vanilla center. I enjoy preparing these as an indulgent dessert or a special gift for friends and family during holidays. Plus, the recipe is simple enough to whip up in under an hour, and I can't resist the satisfaction of crafting my favorite candy from scratch!
Making these Reese’s Cups at home is an experience I look forward to every time. I’ve played around with different fillings, but this vanilla version has become my favorite. The silky texture of the vanilla filling contrasts beautifully with the rich chocolate coating. One tip I have is to let the chocolate cool slightly before dipping the cups, as this helps create a smooth finish.
The beauty of these cups lies in their versatility. I love customizing the flavor of the filling by adding a hint of almond extract or even a sprinkle of sea salt on top of the chocolate for an extra punch. Each time I make them, they disappear almost instantly. Trust me, your loved ones will ask for seconds!
Why You'll Love This Recipe
- Rich chocolate flavor paired with creamy vanilla filling
- Fun to make and customize for any occasion
- Perfect for sharing or enjoying all by yourself
Chocolate Choices
The choice of chocolate is crucial for achieving the perfect texture and flavor in your Homemade Reese's Cups. I recommend using a combination of semi-sweet and milk chocolate chips to create a well-balanced sweetness. Semi-sweet chocolate has a deep, rich flavor that complements the creamy vanilla filling, while milk chocolate adds a sweeter, softer touch. If you prefer an even darker flavor, you can substitute some of the semi-sweet chocolate with dark chocolate chips, but keep in mind that this will alter the overall sweetness of the final product.
When melting the chocolate, be careful not to overheat it. Microwaving in short bursts and stirring frequently will help prevent the chocolate from seizing or burning. Look for a glossy and smooth consistency when it's ready; if it becomes grainy or clumpy, it's likely overheated. If this happens, you can try adding a small amount of vegetable oil or shortening to rescue it, bringing back the fluidity without compromising flavor.
Perfecting the Filling
The vanilla filling is the star of this recipe, providing a creamy contrast to the chocolate. The peanut butter used here not only offers flavor but also structure to the filling. For a smoother texture, choose a well-blended creamy peanut butter; natural varieties with oil separation may not provide the desired consistency. If you're looking for alternatives, almond butter or sunflower seed butter can be great substitutes for a different taste, especially when following dietary restrictions.
Adding powdered sugar to the filling helps achieve the right sweetness and thickness. If you'd like to adjust the sweetness level, start with less powdered sugar and gradually add more to taste. The vanilla extract enriches the flavor, so opt for pure vanilla extract for the best results. Its quality can dramatically affect the outcome, bringing a fragrant, aromatic essence to the filling that balances wonderfully with the chocolate shells.
Ingrediënten
Ingredients
For the Cups
- 1 cup semi-sweet chocolate chips
- 1/2 cup milk chocolate chips
For the Vanilla Filling
- 1/2 cup creamy peanut butter
- 1/4 cup powdered sugar
- 1 teaspoon vanilla extract
These ingredients create a delightful combination that will tantalize your taste buds!
Bereidingswijze
Instructions
Melt the Chocolate
In a microwave-safe bowl, combine the semi-sweet and milk chocolate chips. Microwave in 30-second intervals, stirring in between, until the chocolate is melted and smooth.
Prepare the Molds
Line a muffin tin with cupcake liners. Using a spoon, pour about 1 tablespoon of melted chocolate into each liner, tilting the tin to coat the sides evenly. Place in the refrigerator for about 10 minutes to set.
Make the Filling
In a small bowl, mix the creamy peanut butter, powdered sugar, and vanilla extract until smooth and well combined.
Assemble the Cups
Once the chocolate has set, add a dollop of the vanilla filling in the center of each cup. Pour an additional layer of melted chocolate on top to seal the filling in. Chill again until completely set.
Serve and Enjoy
Once the chocolate has hardened, peel off the cupcake liners and enjoy your homemade Reese’s Cups!
These delightful treats are best served chilled or at room temperature.
Professionele Tips
- Feel free to experiment with different fillings such as almond butter or flavored spreads for a unique twist on the classic Reese’s Cup.
Storage and Make-Ahead Tips
These Homemade Reese's Cups can be made ahead of time and stored in an airtight container in the refrigerator for up to two weeks. If you want to keep them longer, consider freezing them. Place the cups in a single layer on a parchment-lined baking sheet until they are frozen solid, then transfer them to a freezer-safe container or bag. They can be stored in the freezer for about three months. Just let them sit at room temperature for a few minutes before enjoying to regain their creamy texture.
When storing, keep them away from direct sunlight and moisture to maintain their quality. If you notice any white coating on the chocolate, it may be due to fat bloom, which occurs when chocolate is improperly stored, but this does not affect the taste and is safe to eat.
Serving Suggestions and Variations
Serving these cups is a delightful experience, especially when presented beautifully. You can serve them on a platter dusted with cocoa powder or chopped nuts for added texture. For a fun twist, consider drizzling white chocolate over the tops or even adding sprinkles for a festive look. They make excellent homemade gifts, especially when wrapped in decorative foil or placed in a themed gift box for holidays.
Feel free to experiment with fillings! You could add finely chopped nuts or a layer of fruit preserves for a fruity contrast. For an indulgent option, try adding crushed cookies, like Oreo crumbs, to the vanilla filling. This variation adds a delightful crunch that complements the creaminess of the filling and richness of the chocolate shell.
Vragen Over Recepten
→ Can I use dark chocolate instead?
Absolutely! Dark chocolate can add a richer flavor and pairs well with the vanilla filling.
→ How do I store these Reese’s Cups?
Store them in an airtight container in the refrigerator for up to two weeks.
→ Can I freeze these cups?
Yes, you can freeze them for up to three months. Just make sure to wrap them tightly to avoid freezer burn.
→ What other fillings can I try?
You can try using cookie butter, Nutella, or even a fruit jam for a different flavor experience!
Homemade Reese’s Cups with Vanilla Filling
Gemaakt door: Chloe Baker
Recepttype: Dagelijkse Bakfavorieten
Vaardigheidsniveau: Beginner
Eindportie: 12 cups
Wat je Nodig Hebt
For the Cups
- 1 cup semi-sweet chocolate chips
- 1/2 cup milk chocolate chips
For the Vanilla Filling
- 1/2 cup creamy peanut butter
- 1/4 cup powdered sugar
- 1 teaspoon vanilla extract
Stappen
In a microwave-safe bowl, combine the semi-sweet and milk chocolate chips. Microwave in 30-second intervals, stirring in between, until the chocolate is melted and smooth.
Line a muffin tin with cupcake liners. Using a spoon, pour about 1 tablespoon of melted chocolate into each liner, tilting the tin to coat the sides evenly. Place in the refrigerator for about 10 minutes to set.
In a small bowl, mix the creamy peanut butter, powdered sugar, and vanilla extract until smooth and well combined.
Once the chocolate has set, add a dollop of the vanilla filling in the center of each cup. Pour an additional layer of melted chocolate on top to seal the filling in. Chill again until completely set.
Once the chocolate has hardened, peel off the cupcake liners and enjoy your homemade Reese’s Cups!
Extra Tips
- Feel free to experiment with different fillings such as almond butter or flavored spreads for a unique twist on the classic Reese’s Cup.
Voedingswaarde (Per Portie)
- Calories: 380 kcal
- Total Fat: 26g
- Saturated Fat: 15g
- Cholesterol: 195mg
- Sodium: 85mg
- Total Carbohydrates: 32g
- Dietary Fiber: 3g
- Sugars: 24g
- Protein: 6g